Margherita Pizza
This classic, simple pizza is the gold standard. It’s impossible to improve this combination, but purists would say the tomatoes are an add-on.
Margherita Pizza
Makes one 10-inch pizza
For each pizza
1 Pizza Dough, below
½ to ¾ cup Marinara Sauce, above
2 tomatoes, thinly sliced
1 ball fresh buffalo mozzarella, sliced into rounds
4 to 5 leaves fresh basil
olive oil
Optional
1 teaspoon red pepper flakes
Directions
For best results, preheat oven to 500° for 30 to 40 minutes with the pizza stone in the oven.
Spread marinara over pizza dough, to the edges. Sprinkle with optional chile pepper flakes. Evenly distribute tomato slices. Top with mozzarella.
Bake approximately 20 minutes until crust is golden, checking the bottom for brown spots so it doesn’t burn. Remove from oven and scatter with basil. Brush edges with olive oil.
Marinara Sauce
Makes enough for 3 pizzas
My quick, easy marina sauce for pizza.
2 tablespoons olive oil
½ medium onion, chopped
28-ounce can diced and peeled tomatoes
2 cloves garlic, minced
1 teaspoon tomato paste
1 teaspoon dried oregano
½ teaspoon red pepper flakes
½ teaspoon sugar
salt and pepper to taste
Directions
Heat olive oil in a medium skillet. Add onion and sauté until tender but not brown, approximately 8 minutes. Add all other ingredients and bring to a simmer. Let simmer for 10 minutes to reduce the liquid.
Put in a mini blender and pulse to make a sauce with a bit of texture. Taste and adjust seasonings. Cool before using.
Pizza Dough
Start this dough the day before. You can make this dough without the help of a mixer if you’re prepared for an upper arm workout. You’ll need to hand-beat the dough approximately twice as long as with a mixer.
Makes dough for 3 large pizzas
4 cups bread flour, divided
1½ teaspoons instant dry yeast
1 tablespoon salt
2½ cups warm water
1½ tablespoons honey
2 tablespoons olive oil (plus more for bags)
2 cups or more all-purpose flour, divided
3 gallon-size storage bags, each coated with a slight tablespoon of olive oil
Directions
Place 3 cups of the bread flour, yeast, and salt in the bowl of a mixer fitted with a paddle attachment. Turn the mixer on low and blend the ingredients. Blend warm water, honey, and olive oil in a 4-cup measuring cup. Add to the flour and mix on low until blended then increase to medium speed and beat for 1 minute, until dough is combined. Turn off the mixer, remove the paddle attachment, and cover the bowl with a towel. Let the dough rest for 15 minutes.
Attach the dough hook to the mixer. Add the remaining cup of bread flour and 1 cup of the all-purpose flour. Turn mixer on low. Gradually add more flour until the dough is shaggy and forms a ball. Better to have your dough be too wet than too dry. If the dough is too dry, add more warm water, a tablespoon at a time, until the dough is soft, slightly sticky, and pliable. Beat the dough with dough hook on medium speed for 2 minutes. Turn off the machine, remove the hook, cover the bowl tightly with plastic wrap, and let rest 5 minutes.
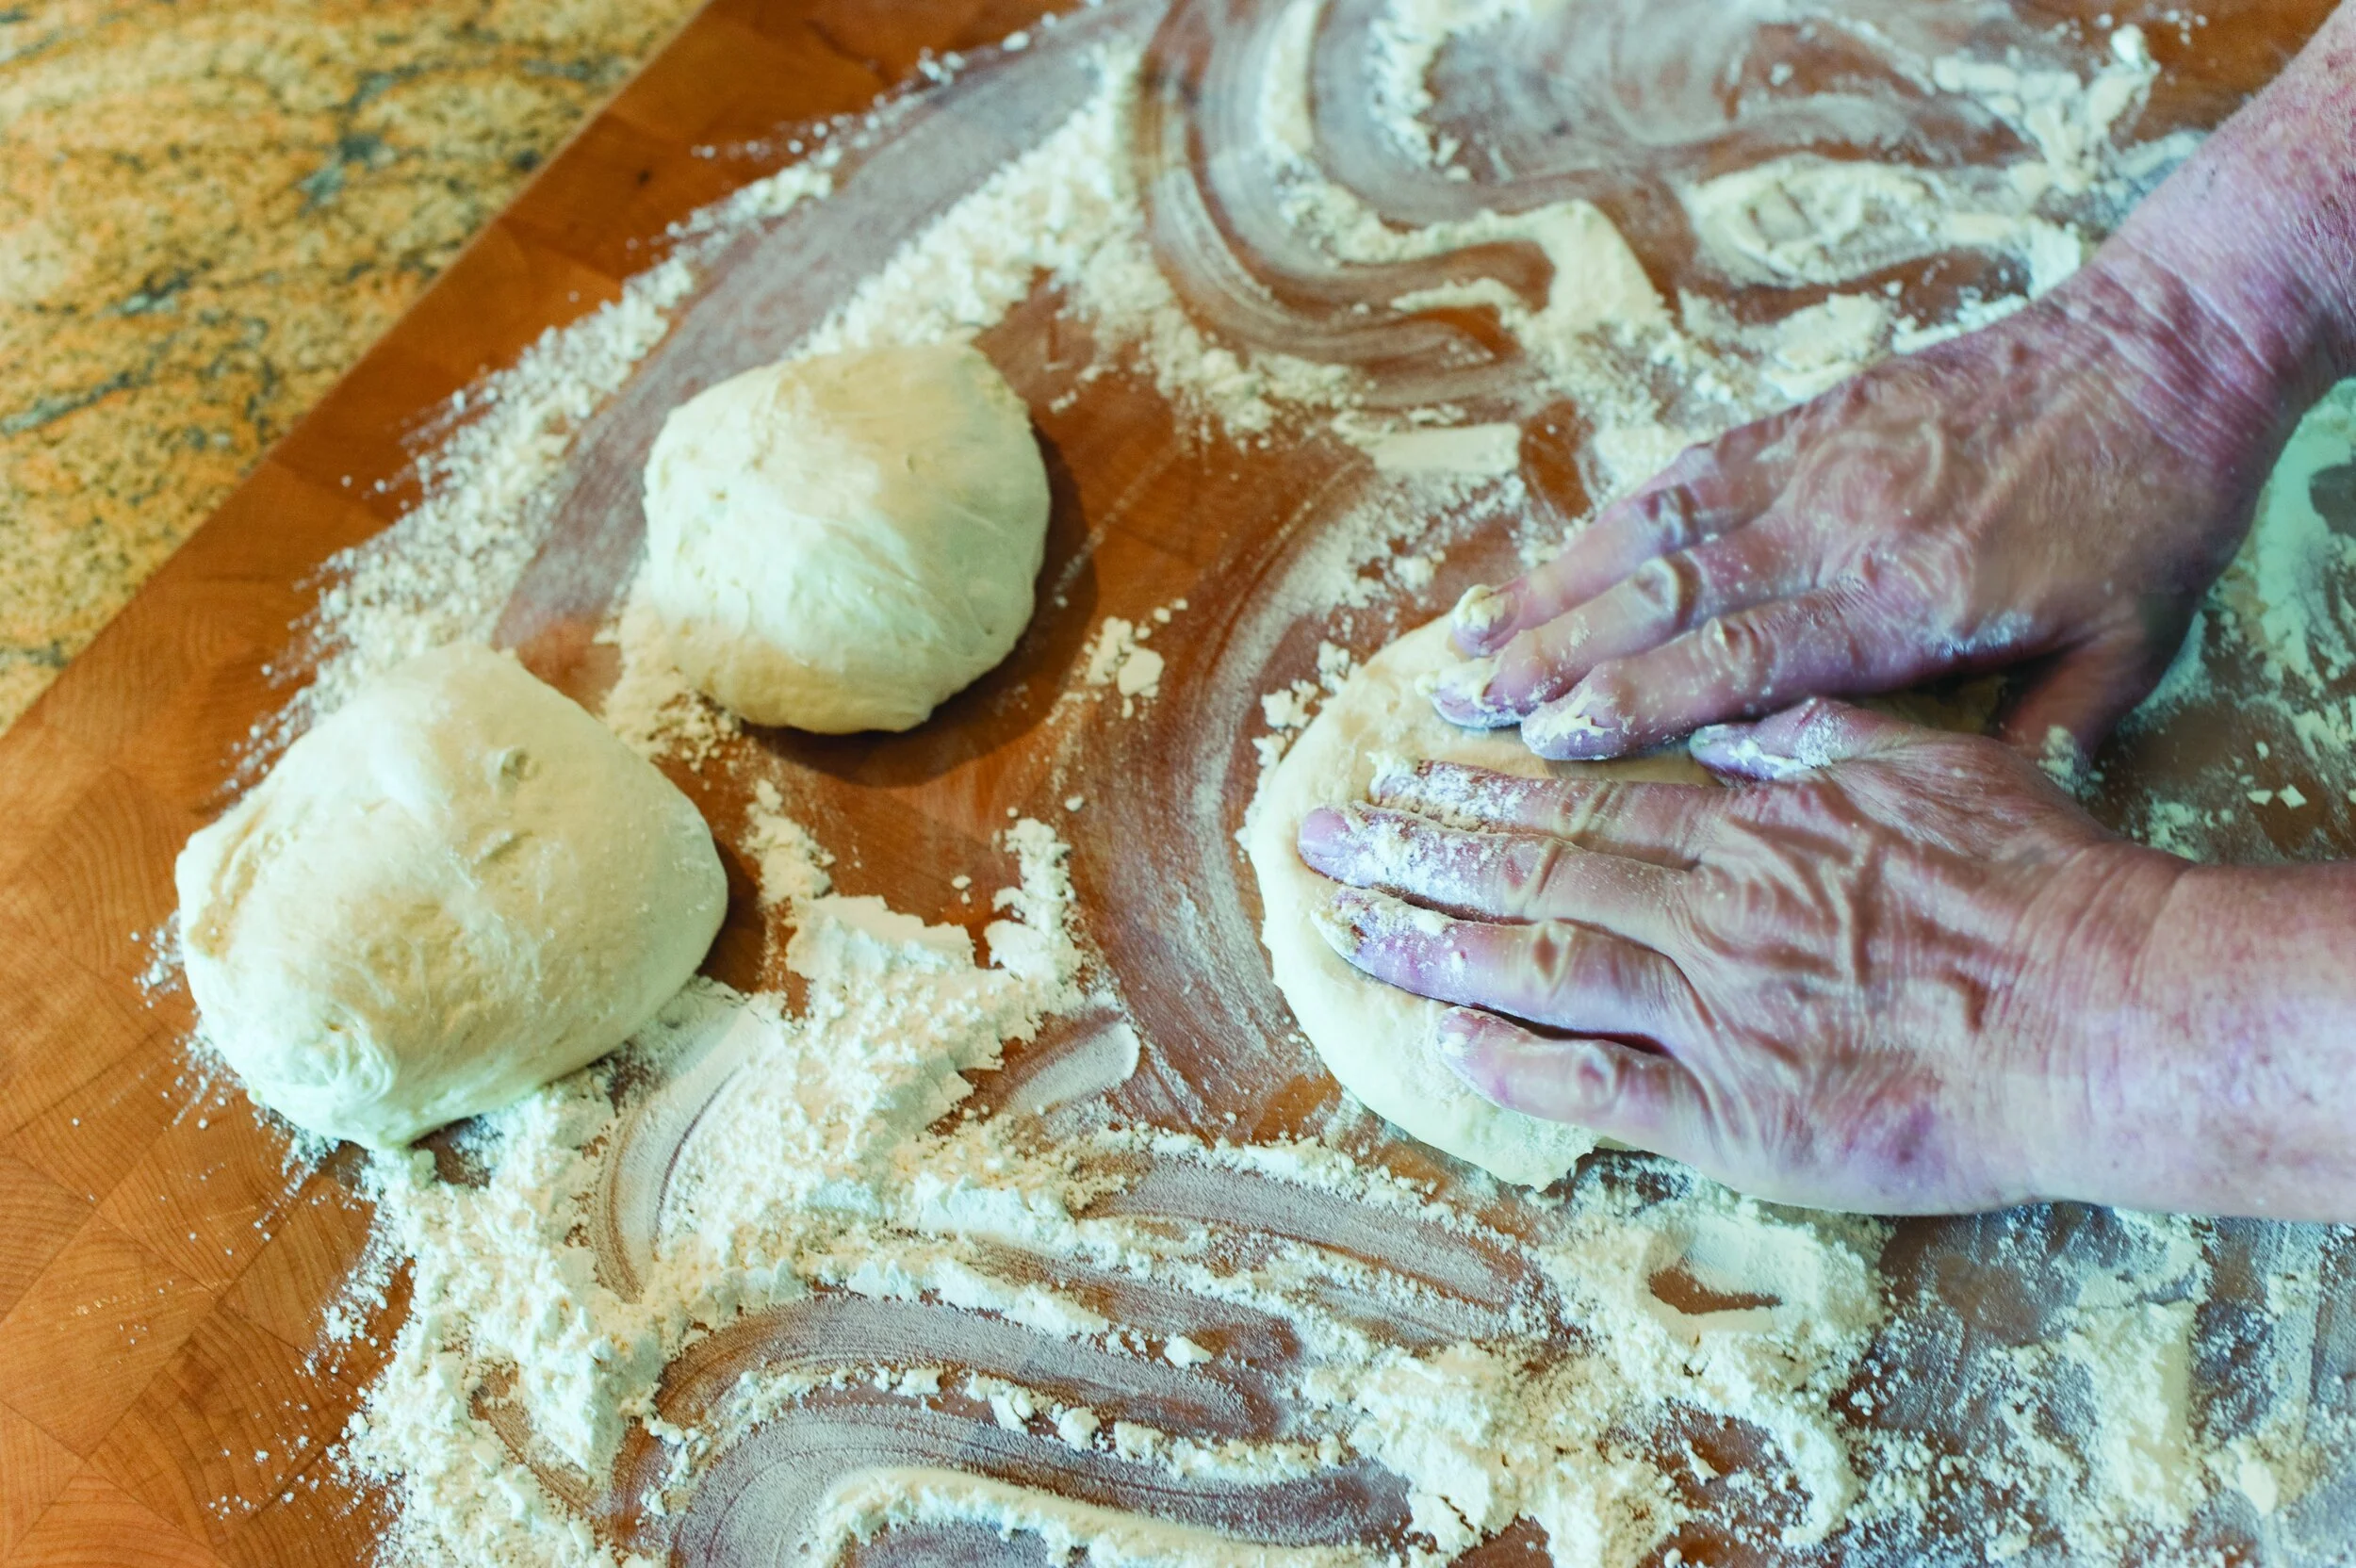
Flour a work surface. Dump the dough on the surface, flour your hands, gather the dough into a ball, and begin kneading. Use only as much flour as needed to keep the dough from sticking to your hands and board. Knead quickly and briefly. You will feel it strengthen. You want a slightly sticky dough. When the dough feels pliable, divide it into 3 even balls and place each in a gallon-size storage bag with 1 tablespoon olive oil. Rotate the balls to coat their surfaces with the oil. Close the bags and let sit on the counter at room temperature for 15 minutes.
Refrigerate overnight and up to 2 days. Remove bags from refrigerator at least 3 hours before using. Remove dough from the storage bags and place on a well-floured work surface. Reshape the dough into balls, pressing with your fingertips to punch down any air sacks. Place the dough balls on the flour, in a cluster, leaving enough space for the balls to expand. Loosely cover with plastic wrap and drape a cotton kitchen towel over it. Let rest at least 3 hours and up to 5 hours.
On a floured work surface, shape each pizza by first flattening a ball into a round disk then either rolling it or hand tossing it into a large round. Remember, it will rise as it bakes so the thinner the better without tearing the dough. Place each round on a floured pizza peel/board. I use rice flour for the board as it keeps the dough from sticking and the dough does not absorb additional flour.
Top your pizza. Toppings are personal and highly adaptable. Be creative. Start with a base of either Marinara (page 140) or White Sauce (page 143). Pizzas should not be overloaded, ingredients need to be evenly distributed, and vegetables need a bit of salt to bring out their flavor. Oregano and red pepper flakes are good ways to boost the flavor prior to baking, and fresh basil and/or arugula is a welcomed addition when the pizza is hot from the oven.
Bake your pizza: If you do not own a wood-fired oven, you can improvise by purchasing a pizza baking stone made from terra cotta tempered for high heat. There are also oven bricks that are specifically engineered for lining your oven to replicate—as much as possible—the heat of a wood-fired oven, which reaches upwards to 1,000°. You will need to preheat your oven to 500° for a solid 30 to 40 minutes with the pizza stone in the oven if you wish to have your pizza crisp and chewy, with nicely browned edges.